Pingback and Zapier
Now you can create automations for your Pingback account with over 8,000 apps available on Zapier.
Now you can create automations for your Pingback account with over 8,000 apps available on Zapier. | ||
What is Zapier? | ||
If you’re not sure what Zapier is or what it’s capable of, we’re here to shed some light! The main purpose of the tool is to automate all the repetitive tasks that slow you down, so you can focus on what really matters. | ||
Still sounds a bit abstract, right? Let’s go with a real example. Suppose you want to chat with every new contact of your account on Pingback to better understand your audience. It would be quite a task to constantly check for new conversions, get each contact’s email, and send individual messages to schedule meetings. | ||
With Pingback and Zapier working together, you’ll only need to focus on what truly matters: having that conversation with your future customer. You can set up an automation so that every time a new conversion happens, they automatically receive an email invitation to schedule a meeting. (Impressive, right? We love it too!) | ||
How to Create an Automation | ||
Now that we understand how it works, let’s put it into practice by creating our first automation. We’ll show you how to set up a Google Calendar event for every new conversion to schedule a chat. | ||
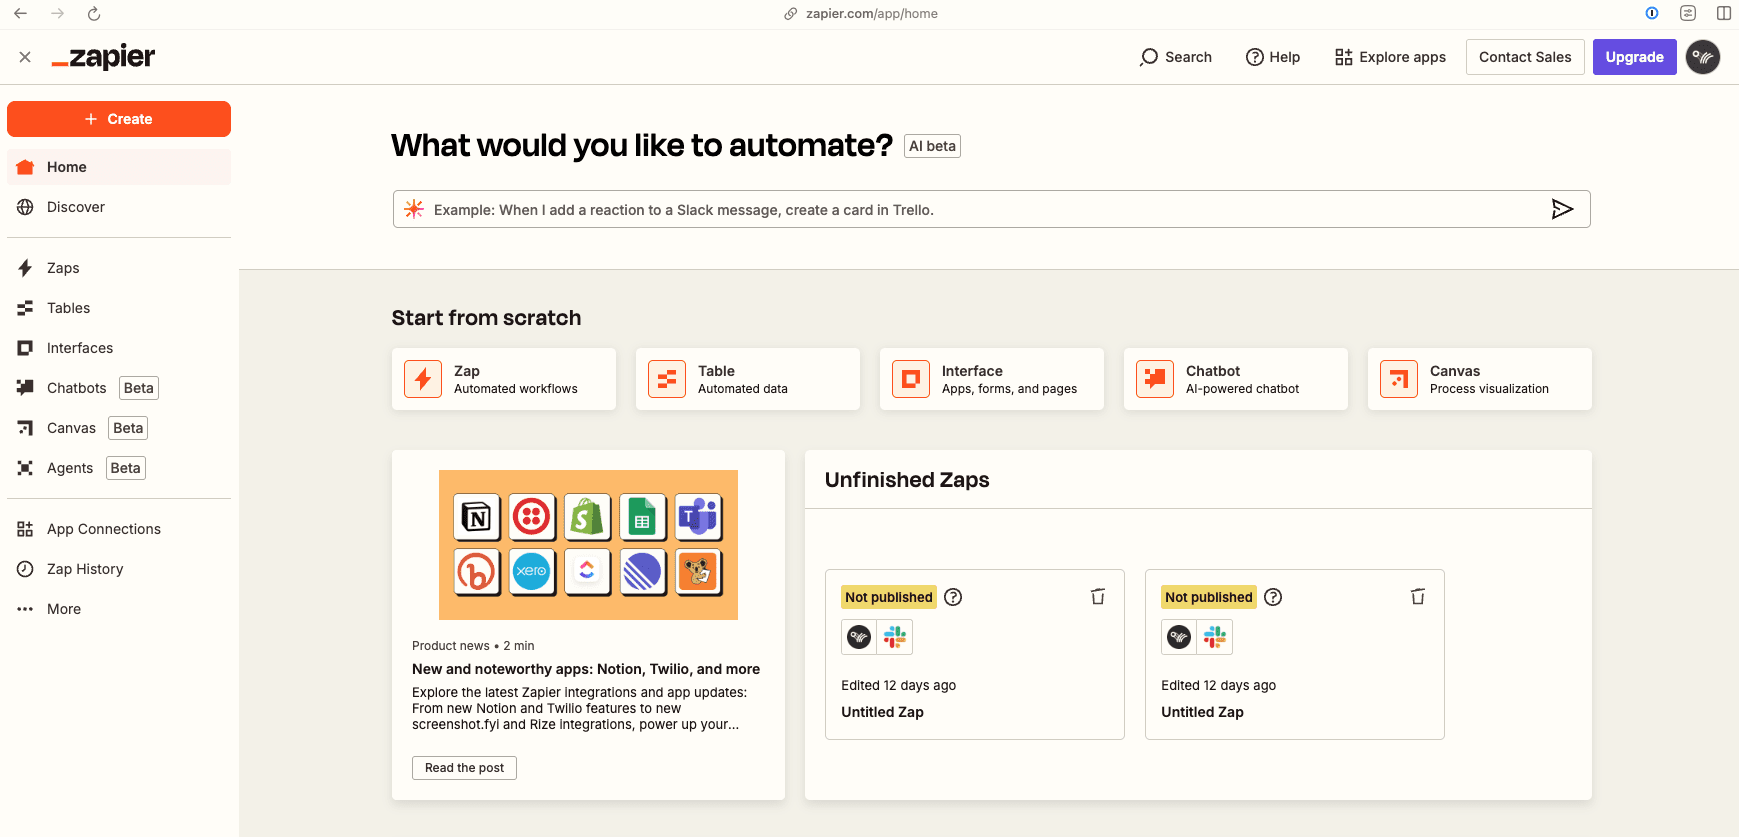
1. Sign in to Zapier | ||
To create your first Zap (Zapier’s term for an automation), you need to sign in or create a new account. | ||
Zapier sign in page: https://zapier.com/app/login | ||
| ||
2. Setting up Pingback Triggers | ||
To create a new automation using Pingback, click "Create" in the top left corner. | ||
| ||
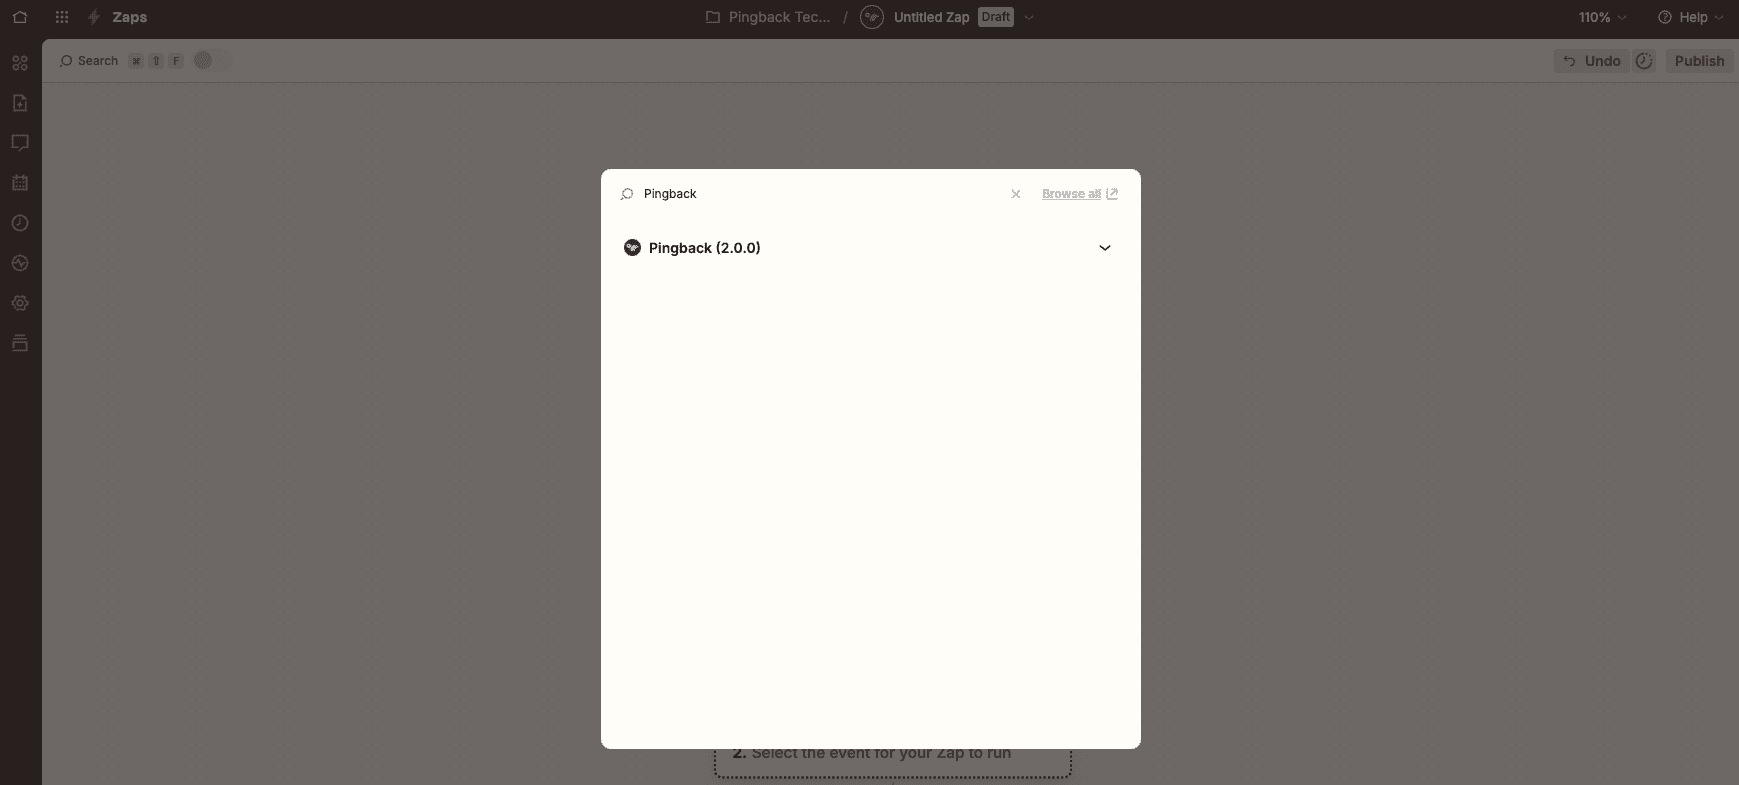
We’re now in the editor, and the first thing to do is click on the trigger block and search for the Pingback app in the search field. | ||
| ||
After selecting the app, you’ll need to pick the type of notification Pingback will send to trigger the Zap. | ||
Those are all the triggers you can select from Pingback in your Zap: | ||
| ||
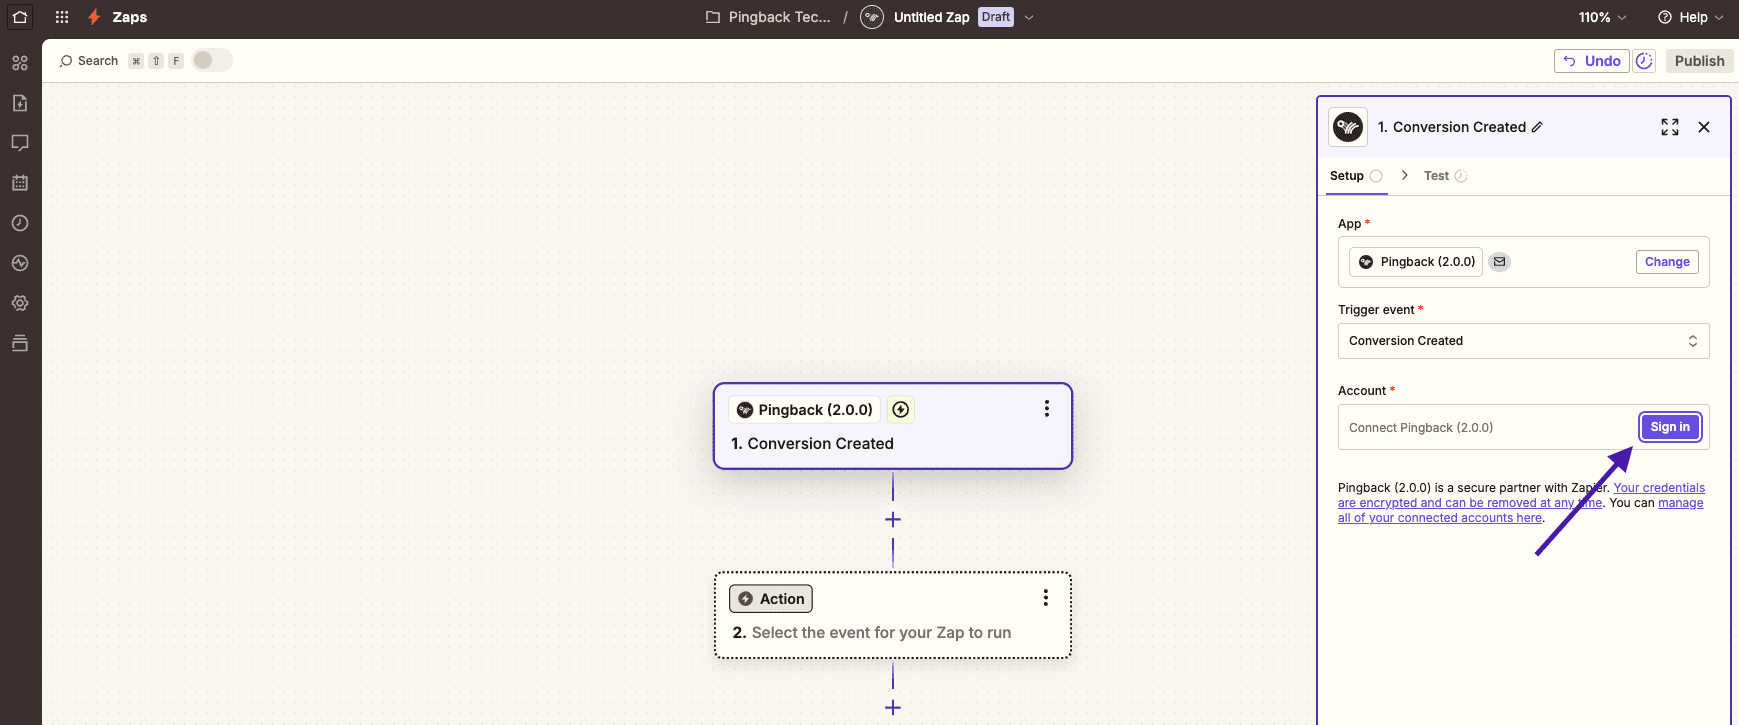
For this example, we're going to select the "Conversion Created" event. | ||
| ||
Once you’ve selected the notification type, the next step is to connect your Pingback account. | ||
| ||
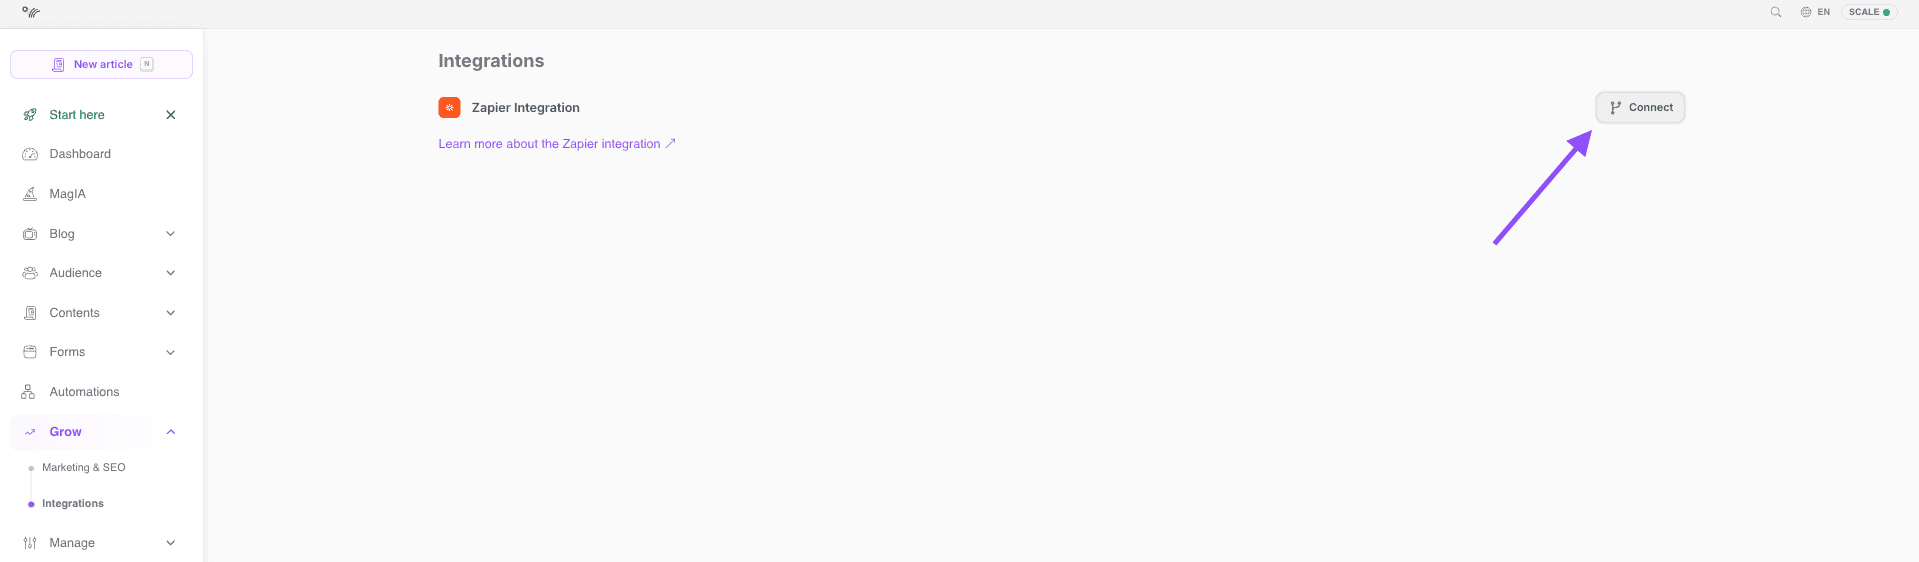
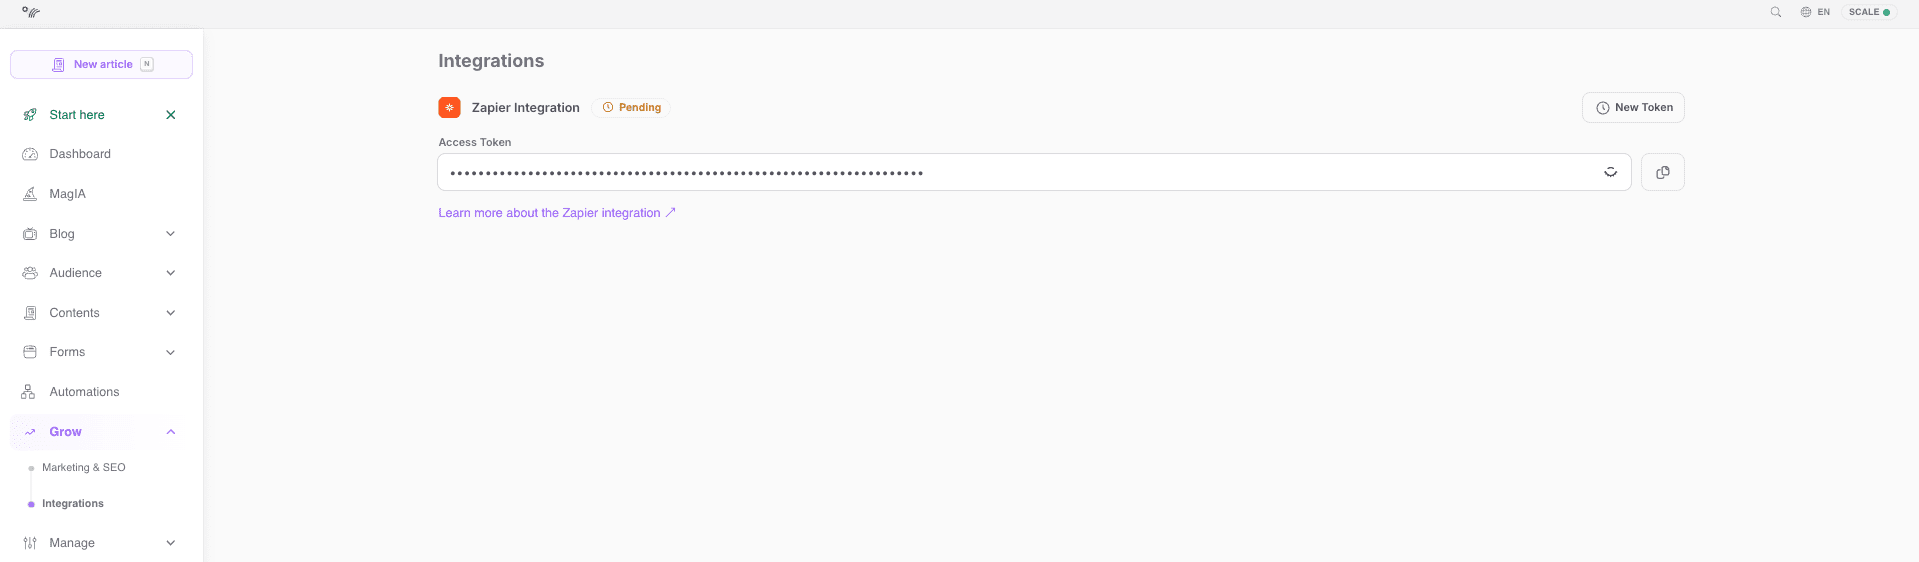
Click "Sign in" and a new tab will open asking for an API Key. But before entering that, you’ll need to go to the integrations page of your account. | ||
| ||
Then, click "Connect." | ||
Copy the token provided. | ||
| ||
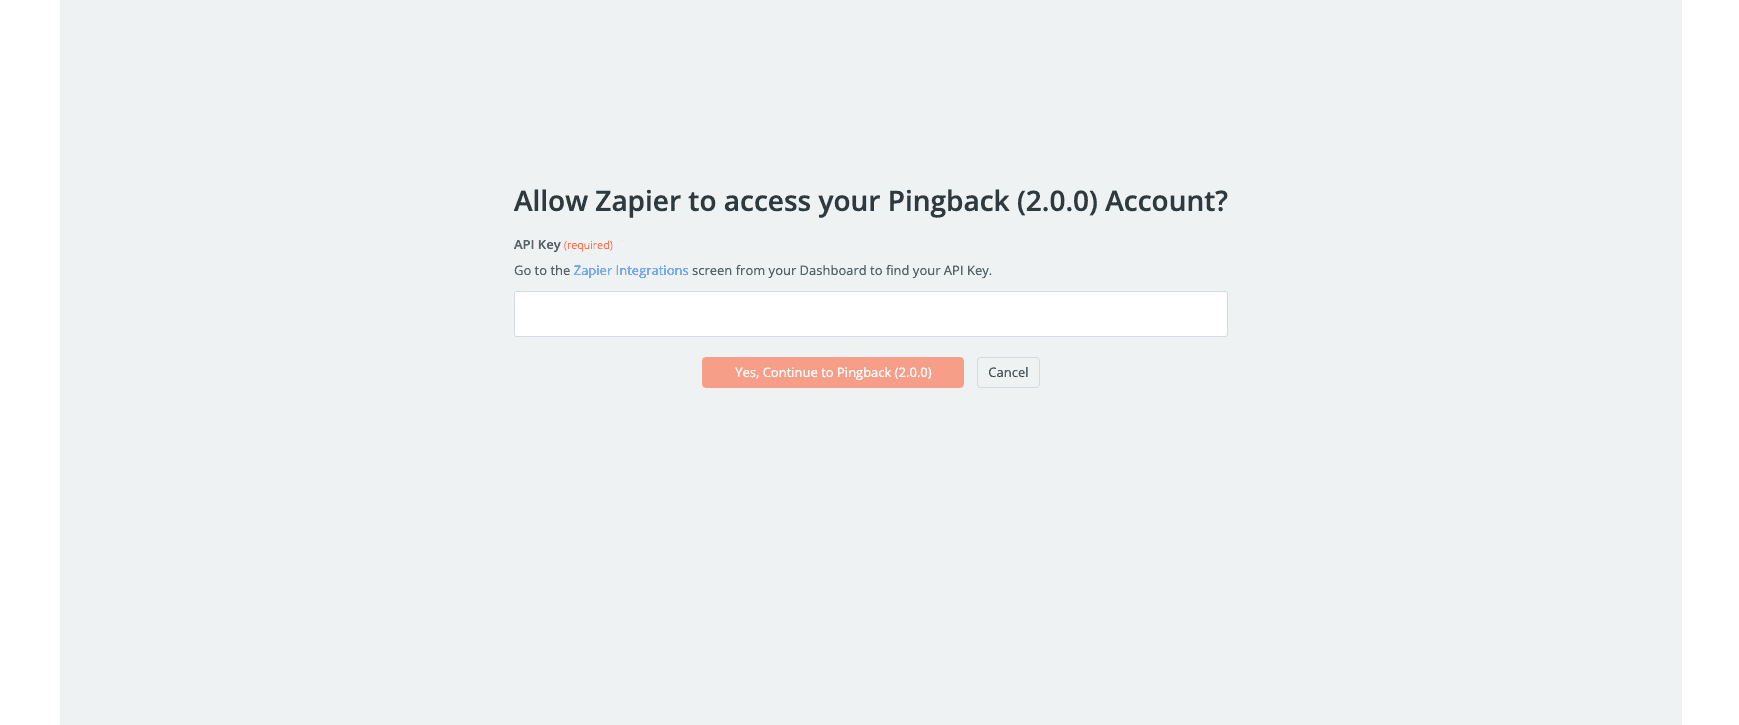
Now paste the token into the Zapier tab where it asks for the API Key. | ||
| ||
You'll be redirected to Zapier Editor and everything is set up. | ||
Now, just follow the Conversion Created steps. | ||
3. Configuring the Actions | ||
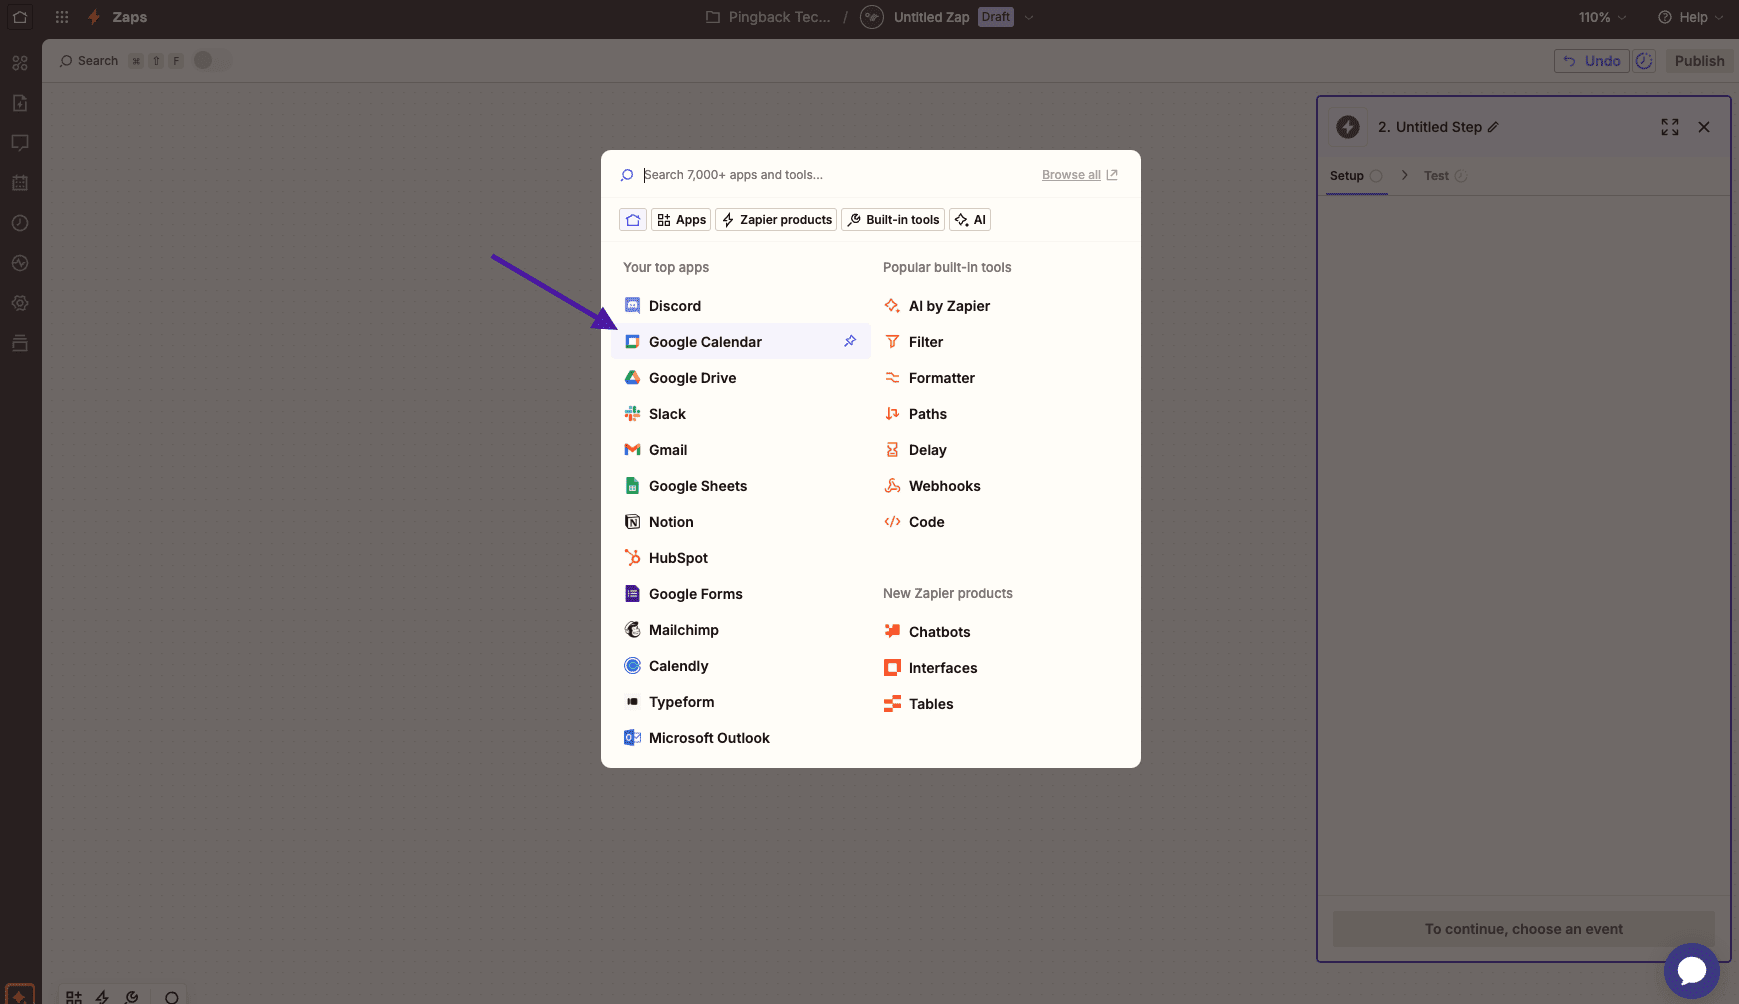
Continuing with our example of scheduling a meeting for each new conversion, select Google Calendar. | ||
| ||
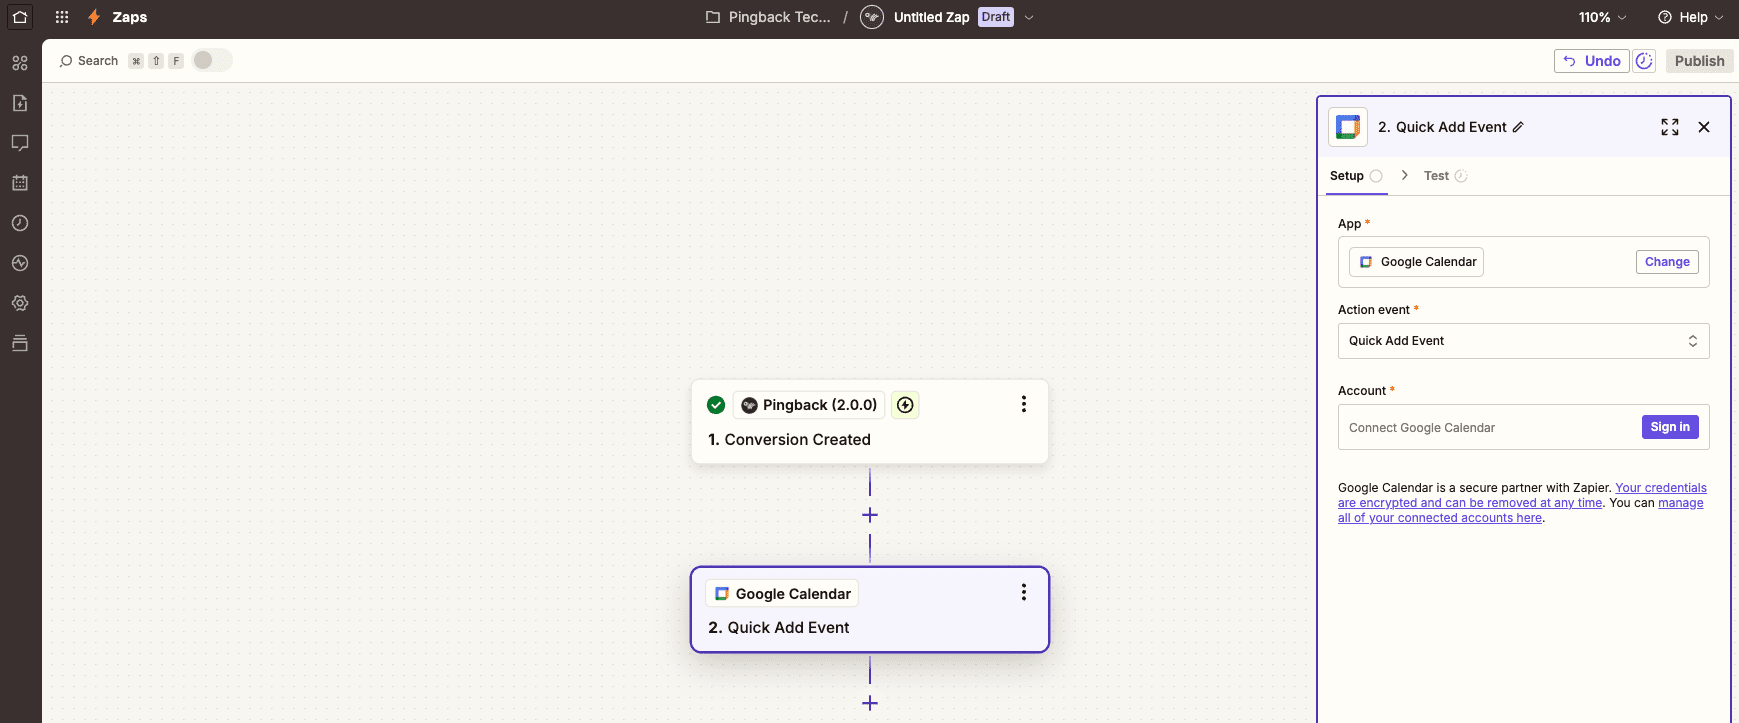
After selecting it, choose the "Quick Add Event" action. | ||
| ||
Next, you’ll need to authenticate with your Google account. | ||
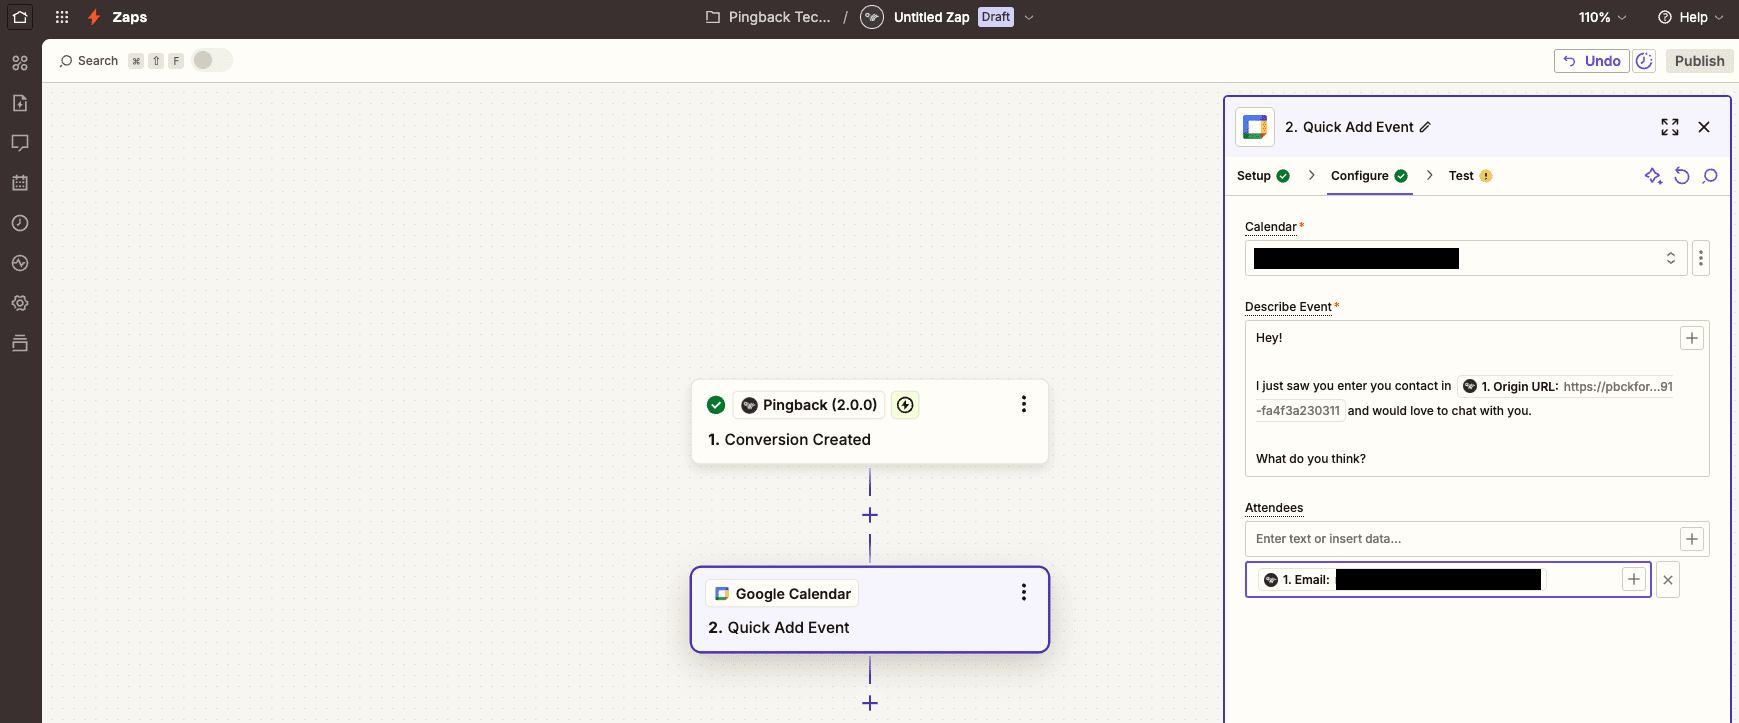
Finally, configure the action: | ||
| ||
| ||
After clicking Continue, "Test" your action and finally "Publish" it. | ||
If you have any questions while configuring Zapier with your Pingback account, just click Help in the menu to chat with our support team. | ||
The Pingback Team |